How to write to /dev/rdiskX without root: a look at macOS authopen
You don't need to sudo into your .app
 MacOS
MacOS
 Unix
Unix
 Spark-Club
Hot off the heels of writing a C API to manipulate Raspbian images, I started writing the Swift app, which led to more API rewrites, until finally, I had a final image file and a /dev/rdiskX device as the destination. All that was left was a simple copy from one to the other.
And obviously, no sane operating system would let a user arbitrarily write onto a raw disk device, right?
Privilege escalations on MacOS
If you look this up online, you would get a lot of very nice security writeups, and a looming sense of despair, as you don’t have a 0-day handy to give your (perfectly legitimate!) app the same capabilities.
The truth is that beyond compromising your app, it’s generally not possible to securely elevate an application’s privileges once it’s already running. If you look at the countless deprecated solutions Apple gave to developers, you’ll see it’s all the same principle: “We’ll allow you to launch a helper with privileged access and communicate with it”.
Which is actually quite a sensible, if somewhat cumbersome, approach: I was writing a Swift GUI app, the last thing I wanted was to spin up a separate privileged helper (and end up back in Rust).
Thankfully, there exists a tool for that.
The wisdom hiding in plain sight
Among all the links you’ll find when searching for “macOS privilege escalation” (welcome to the watchlist!), one stands out, even if it doesn’t look like it. Unassuming at first, it turned out to be one of the smartest pieces of developer documentation I’ve read this year: Apple’s very own Elevating Privileges Safely - Secure Coding Guide.
Compared to the rest of Apple’s developer documentation, this page feels very raw, almost empty, there’s no code at all, and yet everything it says is something I’ve repeated countless times to any junior developer asking for advice:
Any program can come under attack, and probably will.
(…)
The principle of least privilege states:
“Every program and every user of the system should operate using the least set of privileges necessary to complete the job.”
—Saltzer, J.H. AND Schroeder, M.D., “The Protection of Information in Computer Systems,” Proceedings of the IEEE, vol. 63, no. 9, Sept 1975.
— The Hostile Environment and the Principle of Least Privilege
While every line feels like a repeat of stuff that was hammered in my brain in school1, down to the simplest of “Never trust user input parameters”, it feels good, especially in this emerging era of vibe-coded slop to still say those things out loud.
That said, the document was long, light on examples, and I wasn’t convinced it would actually help in my case. I didn’t feel like experimenting with seteuid, so I dismissed it, perhaps too quickly, and went back to the real source of truth: rpi-imager.
Upon the shoulders of people who solved the problem before me
Searching for “ privileges” in the code didn’t immediately help, but it was nudging me in the right direction: both Windows and Linux required elevated privileges, while macOS had a "sensible permissions model that operates as expected". Well, I know iOS does, and I always yell at apps asking me access to my contact list, but macOS too, really?
I was nowhere close to an answer, so I continued through the MacOS parts of the code, marveling at all the tricks it used, like writing the result image straight to the device. Meanwhile, my Swift tool was writing the image to a temporary file and then copying it to /dev/rdiskX.
And then, I found FileError MacOSFileOperations::OpenDevice(const std::string& path):
1
2
3
4
5
6
7
8
9
10
11
12
13
14
15
16
17
18
19
20
21
22
FileError MacOSFileOperations::OpenDevice(const std::string& path) {
  std::cout << "Opening macOS device: " << path << std::endl;

  bool isBlockDevice = IsBlockDevicePath(path);

  // For raw device access on macOS, we need to use the authorization mechanism
  // Similar to how MacFile::authOpen() works
  if (isBlockDevice) {
    std::cout << "Device path detected, using macOS authorization..." << std::endl;

    // Create a MacFile instance to handle authorization
    MacFile macfile;
    QByteArray devicePath = QByteArray::fromStdString(path);

    auto authResult = macfile.authOpen(devicePath);
    if (authResult == MacFile::authOpenCancelled) {
      std::cout << "Authorization cancelled by user" << std::endl;
      return FileError::kOpenError;
    } else if (authResult == MacFile::authOpenError) {
      std::cout << "Authorization failed" << std::endl;
      return FileError::kOpenError;
    }
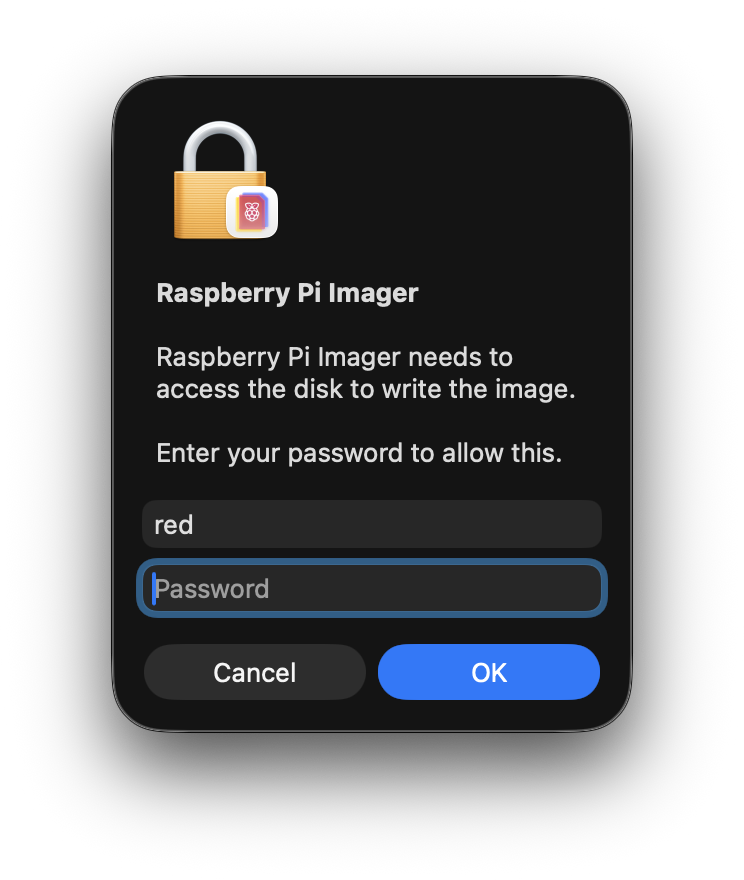
Of course. I had flashed my own microSD cards a dozen times and every time, this MacOS authentification window would appear and ask me for my password because “Raspberry Pi Imager needs to access the disk to write the image.”. That was it, that was the gold mine: a 112-line function, all centered around something I had already heard of: const char *cmd = "/usr/libexec/authopen";.
And just like that, the answer was right there in the Apple documentation:
If you do need to run code with elevated privileges, there are several approaches you can take:
You can use the authopen command to read, create, or update a file (see authopen).
— Running with Elevated Privileges
What’s an authopen anyway?
As the online documentation was sparse, I turned to the other documentation source: man(1).
Running man authopen proved to be informative enough:
authopen provides authorization-based file opening services. In its simplest form, authopen verifies that it is allowed to open ~filename~ (using an appropriate sys.openfile.* authorization right) and then writes the file to stdout. (…)
authopen is designed to be used both from the command line and programmatically. The -stdoutpipe flag allows a parent process to receive an open file descriptor pointing to the file in question.
— man authopen(1)
That was exactly what I needed: a temporary authorization to write to /dev/rdiskX!
And then something dawned upon me: no matter how much I searched online, it seemed no one had ever documented how authopen worked. Sure, I was looking at this code, and I even found a few other implementations in Java or Rust, but otherwise, no one seemed to have documented how it actually worked.
Well then. Time to reverse-engineer some C++.
The missing authopen documentation
All eating functions start with a fork()
The first useful part of the code is a standard fork() setup:
1
2
3
4
5
6
7
8
9
10
11
// Prepare command to run
const char *cmd = "/usr/libexec/authopen";
QByteArray mode = QByteArray::number(O_RDWR);
int pipe[2];
int stdinpipe[2];
// Set up a two-directional socket
::socketpair(AF_UNIX, SOCK_STREAM, 0, pipe);
// set up a pipe for stdin (unidirectional)
::pipe(stdinpipe);
// Let's fork
pid_t pid = ::fork();
While they feel like a lost art in a world of GUI, Unix Pipes still power a huge part of systems, and their simplicity makes them usable in a ton of situations. In my case, having already written a shell2 in C, there was no dark magic here, yet.
Please note that in this case, we are creating a pipe for STDIN and a bi-directional socket for communication. There is a small difference in treatment between the two, and it will influence what happens later.
Getting to authopen
As the original code comment says: we are in “child” territory. In Unix, a fork(2) separates the process in two branches, with the return value indicating in which you are, a 0 indicating the child, and any other result, the parent.
1
2
3
4
5
6
7
8
9
10
11
12
13
14
15
16
if (pid == 0)
{
  // child
  // Close the end of the socket we won't use
  ::close(pipe[0]);
  // Close the writing side of the pipe
  ::close(stdinpipe[1]);
  // Duplicate our side of the socket to capture STDOUT
  ::dup2(pipe[1], STDOUT_FILENO);
  // Duplicate the reading side of the pipe to write to STDIN
  ::dup2(stdinpipe[0], STDIN_FILENO);
  // Execute authopen
  ::execl(cmd, cmd, "-stdoutpipe", "-extauth", "-o", mode.data(), filename.data(), NULL);
  // In case we couldn't run authopen, return an error
  ::exit(-1);
}
So, we close the parts of the pipes we won’t need, and reuse the remaining ones as authopen’s STDIN and STDOUT to communicate with the parent. At this point, it’s just plumbing.
While it may seem strange to exit with a status of -1 here, it is actually normal: on successful execution, execl(3) (and the whole exec family) replaces the current process. Therefore, this line is only reached if launching authopen failed.
Local news: parent closes door on child
On the parent's side, nothing too unusual happens at first:
1
2
3
4
5
6
7
8
9
10
11
// pid != 0, so we're still in the parent
else
{
  // Close the end of the socket we won't use
  ::close(pipe[1]);
  // Close the reading side of the pipe
  ::close(stdinpipe[0]);
  // Write on the pipe
  ::write(stdinpipe[1], externalForm.bytes, sizeof(externalForm.bytes));
  // Close the pipe
  ::close(stdinpipe[1]);
Writing and closing the STDIN pipe isn’t something you’d typically do when using authopen on its own, but in this case, since the -extauth argument is passed, it’s required, as per the manual:
-extauth specifies that authopen should read one AuthorizationExternalForm structure from stdin, convert it to an AuthorizationRef, and attempt to use it to authorize the open(2) operation. The authorization should refer to the sys.openfile right corresponding to the requested operation.
— man authopen(1)
In other words, while you can use authopen to simply open a file, you can also pass additional options, like a custom prompt, for a better user experience.
As for closing the pipe, it signals EOF, letting authopen know that input is complete, and that it can now kick things into gear!
Local news: parent steals file descriptor from child
The following part is where I actually began to stumble. And I still had no idea: how could a file descriptor be transferred from one process to another? So far, every time I had used one, it was an integer, and I knew its value was scoped to the process, and I couldn’t make sense of the model, so I looked up the first term that seemed promising: struct iovec.
iovec - data storage structure for I/O using uio — man iovec(9s)
Like a good episode of LOST, this actually provides me with a clean answer, and invites me to more questions. Unlike even the best episodes of LOST, these are actually questions I believe I can find answers to!
While a lot of these terms sound intimidating, looking them up one by one will orient us towards very helpful documentation, and even a very informative Cloudflare blog post3.
1
2
3
4
5
6
7
8
9
10
11
12
13
14
15
16
17
18
19
20
21
22
23
24
25
26
27
28
29
30
31
32
33
34
// Set up an iovec buffer, big enough for one integer
const size_t bufSize = CMSG_SPACE(sizeof(int));
char buf[bufSize];
struct iovec io_vec[1];
io_vec[0].iov_base = buf;
io_vec[0].iov_len = bufSize;
// Set up a control message buffer, big enough for one integer
const size_t cmsgSize = CMSG_SPACE(sizeof(int));
char cmsg[cmsgSize];

// Set up a header structure, referencing our two previous buffer
struct msghdr msg = {0};
msg.msg_iov = io_vec;
msg.msg_iovlen = 1;
msg.msg_control = cmsg;
msg.msg_controllen = cmsgSize;

// Read from the socket until we get something
ssize_t size;
do {
    size = recvmsg(pipe[0], &msg, 0);
} while (size == -1 && errno == EINTR);

// If we get some data
if (size > 0) {
  // Extract the first control message header
  struct cmsghdr *chdr = CMSG_FIRSTHDR(&msg);
  // Check that we received SCM_RIGHTS
  if (chdr && chdr->cmsg_type == SCM_RIGHTS) {
    qDebug() << "SCMRIGHTS";
    // Extract the FD from the data part
    fd = *( (int*) (CMSG_DATA(chdr)) );
  }
}
Okay, that was strange!
The Unix socket API includes a lesser-known feature called control messages: a way to attach metadata to a message, alongside the regular byte stream. One such metadata type is SCM_RIGHTS, which allows a process to transfer an open file descriptor to another process.
In our case, this is the “secret sauce” behind authopen: instead of returning a file path or raw data, it sends back a fully opened (and privileged) file descriptor through that mechanism.
And just like a good LOST episode, my initial assumptions got trumped, as the iovec structure wasn’t the solution to the mystery.
While you may be accustomed to the form read(stream, buf, size), in that case, the third argument to recvmsg is flags, with the msghdr describing the buffers used to receive both data and metadata.
Wrapping up
What started as a simple question (“how to write to /dev/rdiskX?”) turned into a small journey through macOS internals, Unix IPC, and a surprisingly elegant piece of engineering.
Instead of elevating the entire process, authopen takes a much more surgical approach: it opens the file with the right privileges, and hands you back a file descriptor. No daemon, no persistent helper, no global privilege escalation. Just a capability, passed from one process to another.
Along the way, I also got a reminder of how much power still lies in the old Unix primitives. Pipes, sockets, fork, exec, and a few lesser-known features like control messages are enough to build surprisingly robust systems… if you know where to look.
And, perhaps more importantly, that sometimes the best documentation isn’t documentation at all, but the code of someone who already solved the problem.
-
My school is famous for piping
/dev/urandominto student binaries to test how much they clean up user input. ↩︎ -
A very humbling experience… ↩︎
-
Another reason I love their service! ↩︎